


Puppy proof wrought iron fence without tearing out what you already have
We get this question all the time. A homeowner gets a new puppy, and suddenly those gaps in the wrought iron fence don’t look nearly as small as they used to.
The good news is you usually don’t need to tear out a perfectly good fence just because your puppy can squeeze through it. In most cases, we’d keep the existing fence and fix the lower portion, gates, and any problem areas where the puppy can escape.
Here’s how we’d approach it if this were our own yard.
Key takeaways
- Start by finding every possible escape route. Check gaps between pickets, under the fence, around gates, and anywhere the ground slopes away from the bottom of the fence.
- For most existing wrought iron fences, adding a puppy guard panel or black vinyl-coated welded wire along the lower 18 to 24 inches is much less expensive than replacing the fence.
- Slopes, corners, gates, and changes in grade need extra attention because that’s where small openings tend to appear.
- If this were our property, we’d keep a good existing fence and tighten up the lower section rather than tearing everything out.
- Whatever you add should be secure, free of sharp edges, and installed so a puppy can’t push underneath it or between attachment points.
Where small dogs actually escape a wrought iron fence
“Our puppy keeps escaping and we can’t figure out where.”
We hear some version of that pretty regularly.
Usually, there isn’t one giant hole in the fence. It’s a combination of small openings that didn’t matter until a determined little dog started looking for a way out.
That’s why the first thing we’d do is walk the entire fence line at roughly puppy-eye level.
Check the gaps between the pickets
The spacing between vertical pickets on a decorative metal fence may look narrow to us, but it can be plenty of room for a small puppy.
Yorkies, Chihuahuas, Dachshunds, young doodles, and other small dogs can squeeze through openings that don’t look possible until you watch them do it.
We don’t like relying on a single spacing rule because puppies come in all shapes and sizes. Instead, look at the size of your dog now, not just how big the breed is supposed to get.
If your puppy can get its head comfortably through an opening, we’d treat that opening as a problem.
Look underneath the fence
This is another one we see all the time.
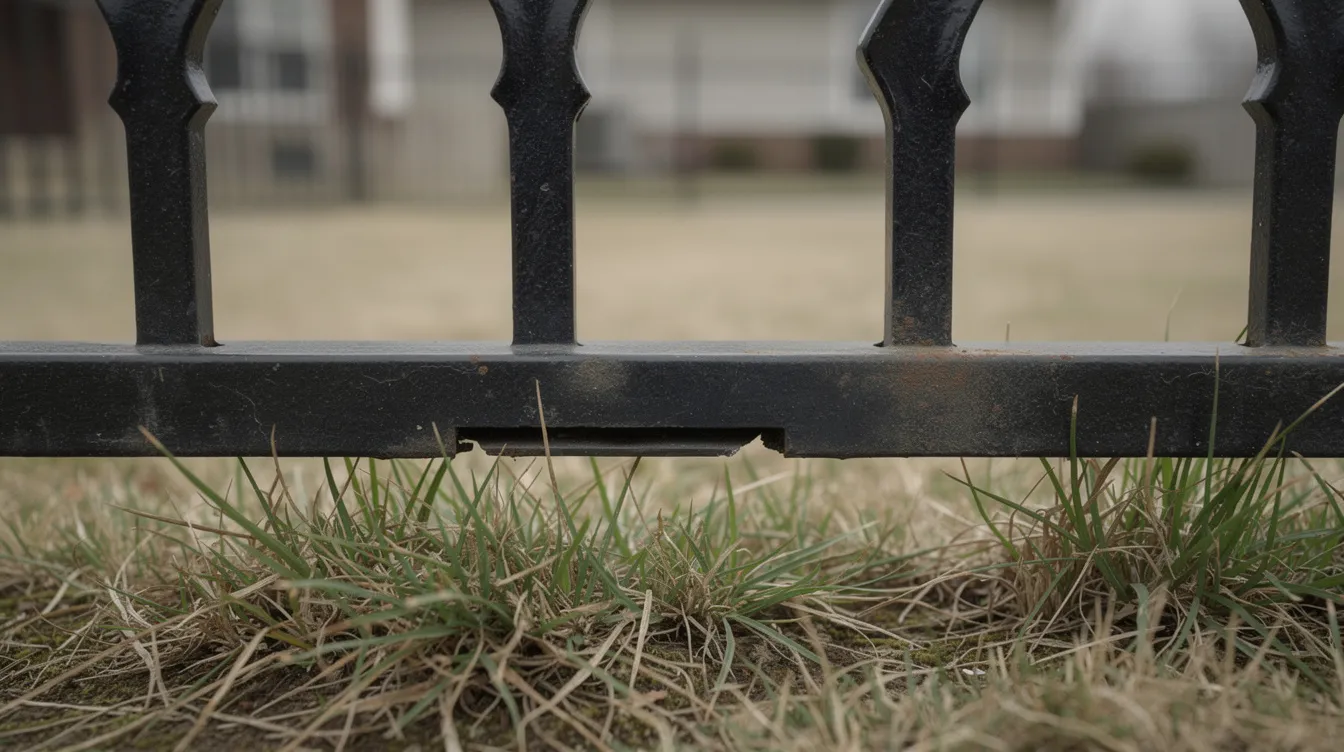
The fence may have been installed close to the ground originally, but soil settles, landscaping changes, and erosion creates low spots.
A small gap near a driveway, walkway, drainage area, or slope can become the puppy’s favorite exit.
Walk the entire bottom of the fence and pay particular attention to places where the ground drops away. If your puppy likes to dig, even a small opening deserves attention because it gives them a place to start.
Pay extra attention to gates
Gates are one of the first places we’d inspect.
Look at the bottom clearance, the latch side, and the hinge side. A gate that has sagged slightly can create a wedge-shaped opening that’s much wider at the bottom than it appears from standing height.
We’d also make sure the latch actually catches every time the gate closes.
You can puppy-proof every foot of fencing and still have an escape problem if someone leaves the gate cracked open.
Why we don’t jump straight to replacing the fence
If the wrought iron fence is structurally sound, we’d rather fix the openings than tell a homeowner to replace a perfectly good fence.
For most small dogs, the problem is happening in the first 18 to 24 inches above the ground.
That’s where we’d concentrate the work.
If the dog is a jumper or climber, that’s a different conversation. Then we’d look at overall fence height and anything near the fence the dog could use to get over it.
But for a puppy squeezing through the bars, replacing the entire fence usually isn’t where we’d start.
The best ways to puppy proof a wrought iron fence without replacing it
The goal is pretty simple. Close the openings without making a nice wrought iron fence look like somebody attached a temporary dog pen to it.
There are a few ways we typically approach that.
Add puppy guard panels
Puppy guard panels are short sections with tighter spacing that attach to the lower portion of an existing fence.
For a visible front yard, this is usually the cleanest-looking solution, and they’re generally compatible with fences ranging from 3 ft. to 6 ft. high.
You still get the open appearance of the original fence, but the lower section has openings small enough to keep the puppy inside. A typical panel includes two pre-assembled 34.75″ wide panels.
We’d consider this option first when appearance matters and the existing fence is in good condition.
The downside is cost. Matching panels generally cost more than welded wire, and they can take more work to fit around unusual corners and slopes.
Add black welded wire along the bottom
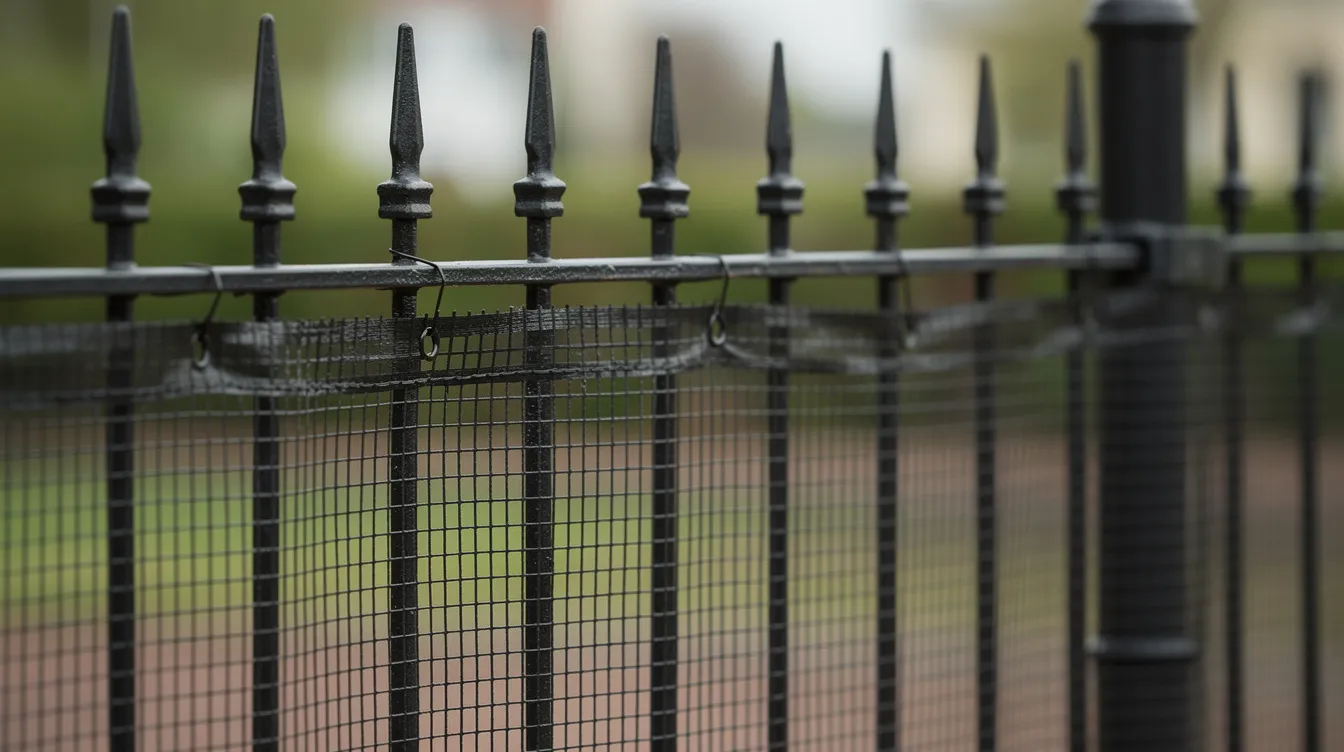
We often add black vinyl-coated welded wire about 24 inches high to the lower part of an existing wrought iron fence. One option we’ve used has 1.7″ × 1.7″ openings, which gives you much tighter spacing than the original fence and works well for small dogs and puppies.
Dog-proofing kits such as Dog Proofer’s welded wire fence kits are available in 24″ and 42″ heights, so you can choose the height based on the size of your dog and the openings you’re trying to close.
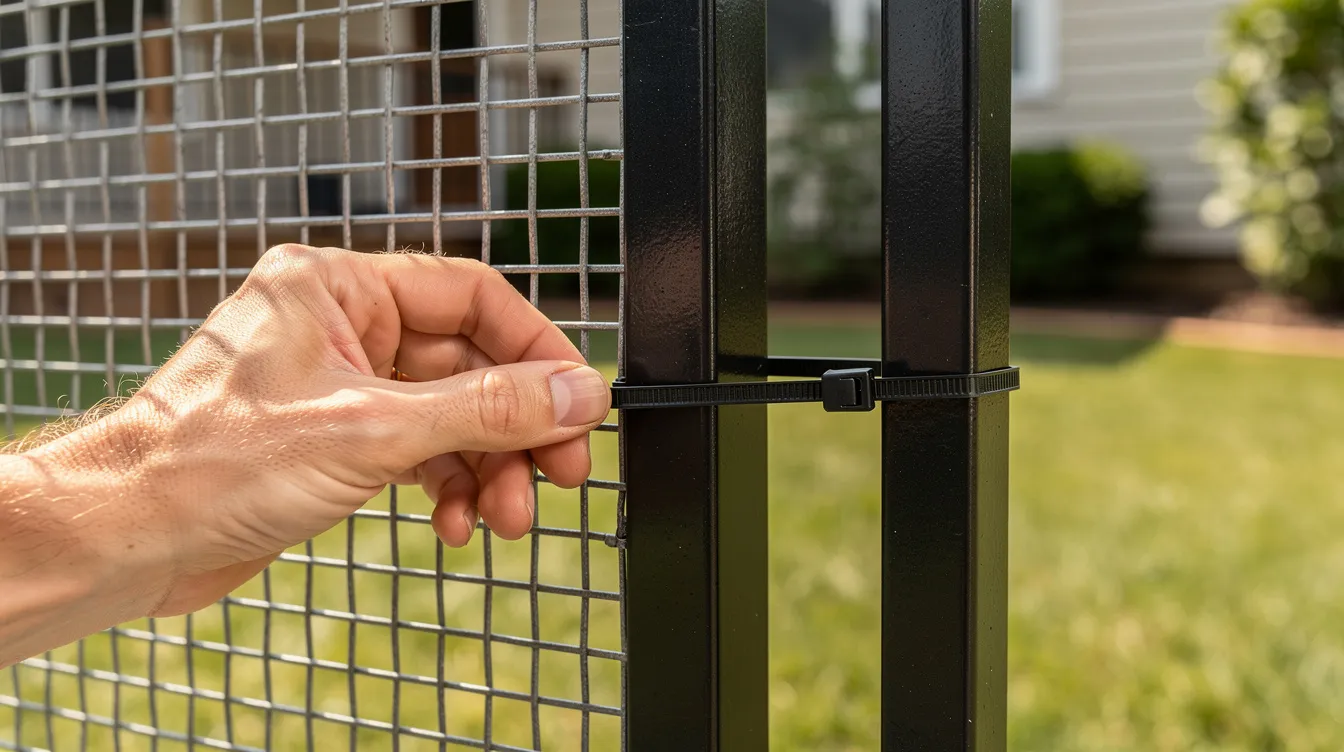
We trim the wire around posts, landscaping, corners, and changes in grade, then secure it with black UV-resistant zip ties or small self-tapping screws. The important part is using enough attachment points that the puppy can’t push the wire away from the fence and create another opening.
From the street, black vinyl-coated wire tends to disappear against a black wrought iron fence. That’s one reason we like this approach. It closes those larger openings without making a good-looking metal fence look like you’ve attached a temporary dog pen to it.
For side and back yards, this is often what we’d recommend because it’s affordable, flexible, and easy to fit around slopes and odd-shaped sections.
Panels vs welded wire – which do we recommend?
| Add-on panels | Welded wire | |
|---|---|---|
| Look | Cleanest, matches fence | Nearly invisible but more “functional” |
| Cost | Higher per foot | More affordable |
| Durability | Very rigid, long-lasting | Strong enough for most small dogs |
| Flexibility | Harder on curves | Easily follows slopes and corners |
| Best for | Front yard, street-facing runs | Side yard, back yard, hidden runs |
Which would we choose on our own property?
If this were our house, we’d probably use matching puppy guard panels across the street-facing portion of the fence and black welded wire along the side and backyard sections where appearance isn’t quite as important.
That gives you the cleaner look where people see the fence most without paying for the more expensive option around the entire yard.
There’s no reason every section of the property has to use the exact same solution.
Close the gaps underneath
Adding wire or puppy panels doesn’t solve the problem if there’s still a four-inch opening underneath the fence.
For larger bottom gaps, the right solution depends on what’s causing them.
We may use a low metal barrier, landscape edging, or another solid material to close the opening. If digging is a serious problem, a more permanent barrier at ground level may make sense.
The important part is that whatever you use doesn’t create sharp edges or another opening beside it.
Can you do this yourself?
In many cases, yes.
If you have a relatively flat backyard fence and you’re comfortable cutting and fastening welded wire, this can be a reasonable weekend project, though add-on panels are usually best installed by following the manufacturer’s instructions.
Where DIY gets more difficult is around visible front fencing, steep slopes, gates, corners, and transitions between different fence types.
That’s where a professional installation can make the difference between something that looks added on and something that looks like it belongs there.
How we handle slopes, corners, and tricky spots
Straight, level fence runs are usually the easy part.
Slopes, corners, gates, concrete, and changes in grade are where puppy-proofing projects get interesting.
Following a slope without leaving another opening
If the fence follows a hill, the puppy barrier needs to follow it too.
You don’t want to close the gaps between the pickets only to create a triangular opening underneath the new panel.
Depending on the fence and the slope, we may use an aluminum puppy guard add-on panel with a racking feature for sloping grounds, or cut and fit welded wire to stay close to the ground.
These high panels are compatible with fences ranging from 3 ft. to 6 ft. on uneven sections.
The goal is continuous protection along the entire slope.
Getting corners right
Corners deserve more attention than most people give them.
With welded wire, we usually cut and overlap the material around the post so there isn’t a loose edge a dog can push through.
We also make sure cut wire ends aren’t exposed.
Puppies investigate everything with their noses and mouths. A sharp wire end that seems harmless to us can become a real problem for a curious dog.
Don’t forget the gate
A gate needs the same protection as the rest of the fence.
We can attach a puppy guard or wire to the lower portion while maintaining enough clearance for the gate to swing properly.
The latch and hinge sides need attention too.
If the gate doesn’t reliably close and latch, we’d fix that at the same time. Depending on how the yard is used, a self-closing or self-latching gate may also be worth considering.
What about patios and concrete?
Sometimes the fence meets a patio, deck, porch, driveway, or concrete pad where there’s a gap underneath but nowhere to dig.
In those situations, we can usually attach a low metal piece or other barrier to close the opening without disturbing the existing concrete.
This is one of those areas where measuring the actual gap matters more than choosing a standard product and hoping it fits.
What we’d do with a tricky yard
If this were our property, we’d identify the three or four worst areas first.
Usually that’s a gate, a slope, a corner, or a spot where the ground has dropped away.
We’d solve those problems first and then connect the easier sections.
That keeps the project manageable and makes it less likely that you’ll spend money covering 100 feet of fence while missing the five-inch opening the puppy was actually using.
Use materials and fasteners that will hold up outside
If you’re going to puppy-proof the fence, we’d rather see you do it once than redo it next summer because the fasteners broke or the wire started rusting.
What we’d use for the barrier
For most black wrought iron fences, we like black vinyl-coated galvanized welded wire.
It’s durable, handles weather better than bare wire, and doesn’t stand out against a black fence.
For a more finished appearance, powder-coated aluminum puppy guard fence panels are another good option made to work with existing fencing. Some aluminum panels, including MainStreet Aluminum Fence add-ons, use an Armour Guard finish that helps prevent chipping or cracking paint.
As for height, 18 to 24 inches is enough for many small dogs that are squeezing through the lower fence. More athletic dogs or unusual yard conditions may call for something taller.
Again, we’d base that decision on the actual dog and property rather than automatically using the same height everywhere, and this kind of finish can be relieving by reducing maintenance worries while keeping small dogs inside.
Don’t use cheap indoor zip ties
This sounds like a small detail until the ties become brittle and start snapping.
If we’re using zip ties outdoors, we use heavy-duty UV-resistant ones designed for exterior exposure.
We also use enough attachment points that the puppy can’t push the wire away from the fence and create another opening.
Screws and other hardware
Where appropriate, we may use stainless or coated self-tapping screws to attach a more permanent puppy guard.
Any time we drill through a coated metal fence, we pay attention to the exposed metal and touch up the finish where necessary.
You don’t want to solve a puppy problem and create a rust problem.
Make it look intentional
Especially in a front yard, the details matter.
We keep cut edges neat, put the cleaner side toward the street, hide excess fasteners toward the yard when possible, and use materials that match the existing fence.
The goal is for somebody walking past the house to barely notice anything changed.
Don’t save a few bucks on the wrong materials
We’d spend a little more for exterior-rated hardware, coated wire, and properly finished panels. Saving a few dollars on bare wire or cheap zip ties isn’t much of a savings if you’re replacing everything a year later.
Buy the parts that will hold up and do it once.
Planning, cost expectations, and what we usually recommend
A question we get asked a lot: “Is there a way to puppy proof without spending what we spent on the original fence?” Almost always, yes.
How we’d plan the project
Measure the total linear footage that actually needs puppy proofing. Often it’s the front yard and one or two side sections, not the full run around the yard. Mark problem areas with tape or flags where the dog has already escaped or where you can easily fit your fist through a gap – those spots get attention first.
What drives the cost
Add-on panels usually cost more per foot than welded wire, but look better where your fence is visible from the street. Slopes, lots of corners, and multiple gates increase labor time more than straight runs. Ideas like combining panels in front and wire in back help you balance the budget.
Three common setups we see
- Small front yard with decorative wrought iron along the sidewalk: We install black puppy guard add-on panels across the front, then use matching wire on the less-visible side returns. Each panel added to the front panels makes the street-facing section look sharper.
- Larger yard with mixed iron and wood: We run welded wire around the entire lower perimeter, tying into both the wrought iron and the wood fence to create one continuous barrier that keeps the pet secure and protected, with Wide Gap Dog Fence Kit options available in 24″ and 42″ heights.
- Townhome or city lot with a narrow side yard: We focus on the side yard gaps under the fence and at the gate where small dogs often bolt straight to the sidewalk. Putting a small kick board and wire here usually solves the problem.
How long does it take?
Many straightforward puppy-proofing projects can be completed in a day or less once we have the right materials and know exactly what needs to be done.
More complicated slopes, custom panels, multiple gates, or unusual transitions can take longer.
Either way, plan to keep the puppy inside or on a leash while the work is happening. There will be times when gates are open or sections aren’t secure.
The setup we’d recommend for most puppies
In our own yard, we’d:
- Keep the existing wrought iron – no reason to tear it out
- Add 18–24 inches of tight spacing at the bottom using added panels or wire
- Close every gate gap and bottom gap
- Use durable, low-visibility hardware like black UV zip ties and matching screws
- Reference the dog’s adult size when choosing panel height so we don’t have to redo it later
This approach gives a safe dog fence, keeps the yard looking clean, and usually costs far less than starting over. That’s what we’d tell any homeowner standing in their backyard with a puppy they’re worried about – and it’s what we’d do ourselves.
Frequently asked questions about puppy proofing a wrought iron fence
Can I just use temporary garden fencing to stop my puppy?
Light plastic garden fencing is fine as a stopgap, but in our experience puppies chew through it or push it loose within weeks, especially along an existing fence line. We recommend it only until proper welded wire or puppy guard panels can be installed. Dog proofing kits offer a much more secure long-term fix.
How small of a gap can a puppy squeeze through?
Many small dogs and young puppies can get through gaps around 3 inches wide, sometimes less if they’re motivated. We aim for openings no larger than about 1.5–2 inches. If a puppy’s head fits through a gap in the dog fence, the rest of the body often follows – so we treat that as unsafe and close it up.
Will puppy proofing ruin the look of my front yard fence?
When we use black vinyl-coated wire or matching puppy guard add-on panels, most people barely notice the change from the street. We put the neatest side of the upgrade facing the front yard or sidewalk so the wrought iron look stays as aesthetically pleasing as possible. A good install looks like it was built that way from day one.
Do I need to puppy proof the whole yard or just the front?
Walk the entire perimeter at the puppy’s eye level. Even if escaping is happening at the front yard, side and back gaps can quickly become the next escape route. On our own property, we’d build one continuous barrier around the yard – using more expensive panels where they’re visible and more basic wire where they’re hidden from the ground up.
Can I remove the puppy guard later when my dog is bigger?
Most add-on panels and welded wire can be removed or adjusted later, especially if they’re attached with zip ties or screws rather than permanent welding. We suggest keeping any removed panels in stock and stored in case a future pup, visiting pet, or the grandkids’ puppies need the yard secured again. It’s one of those things that’s easier to accommodate now than to start from scratch later, and having it ready means one less thing to worry about when children or other animals visit.